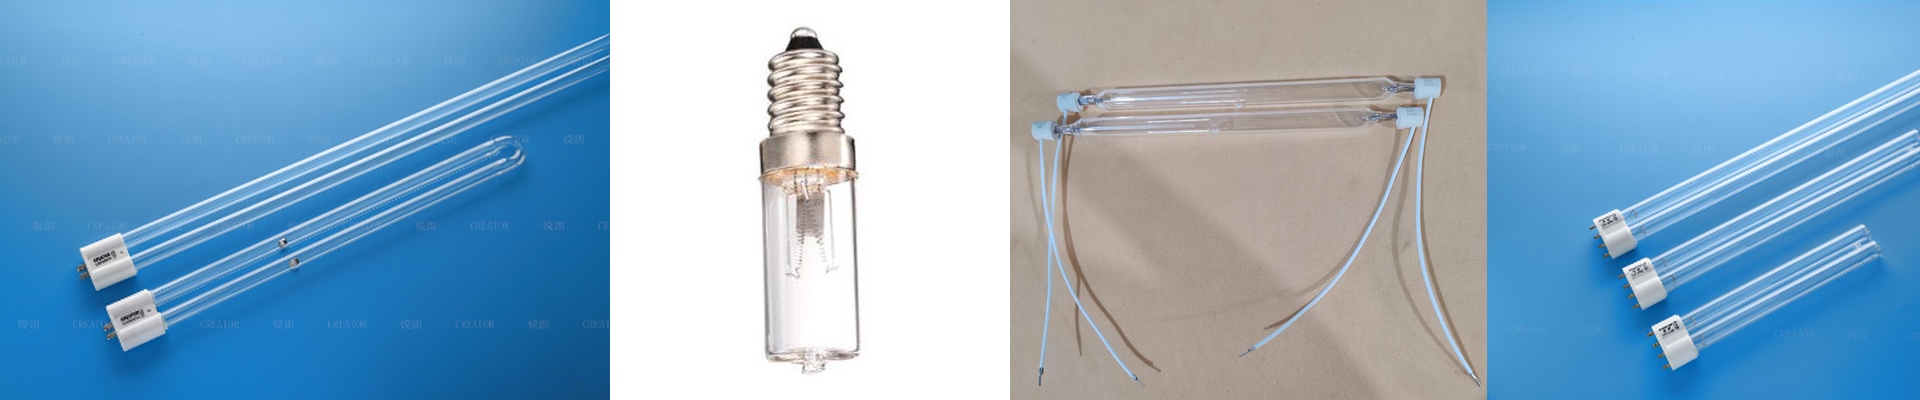
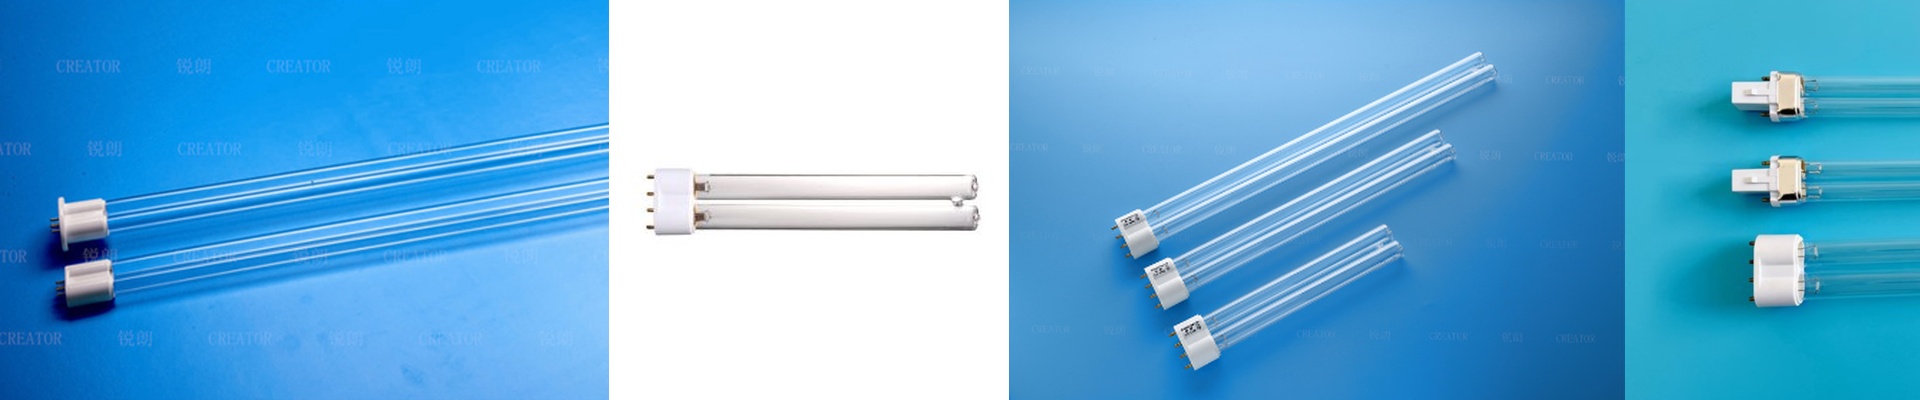
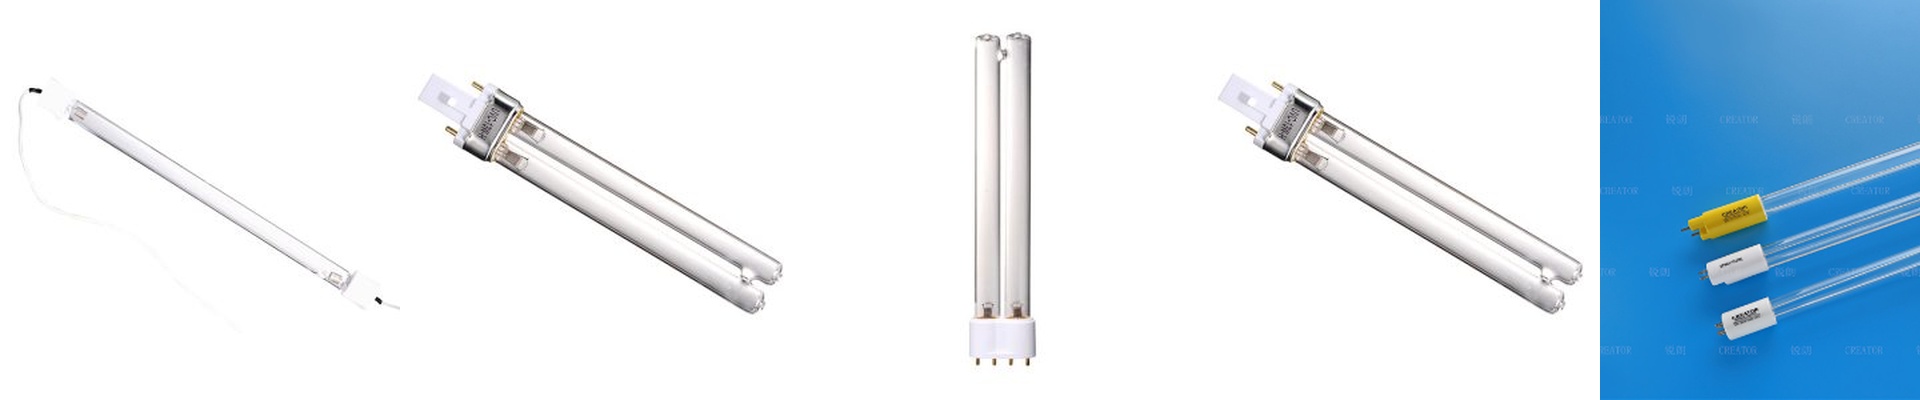
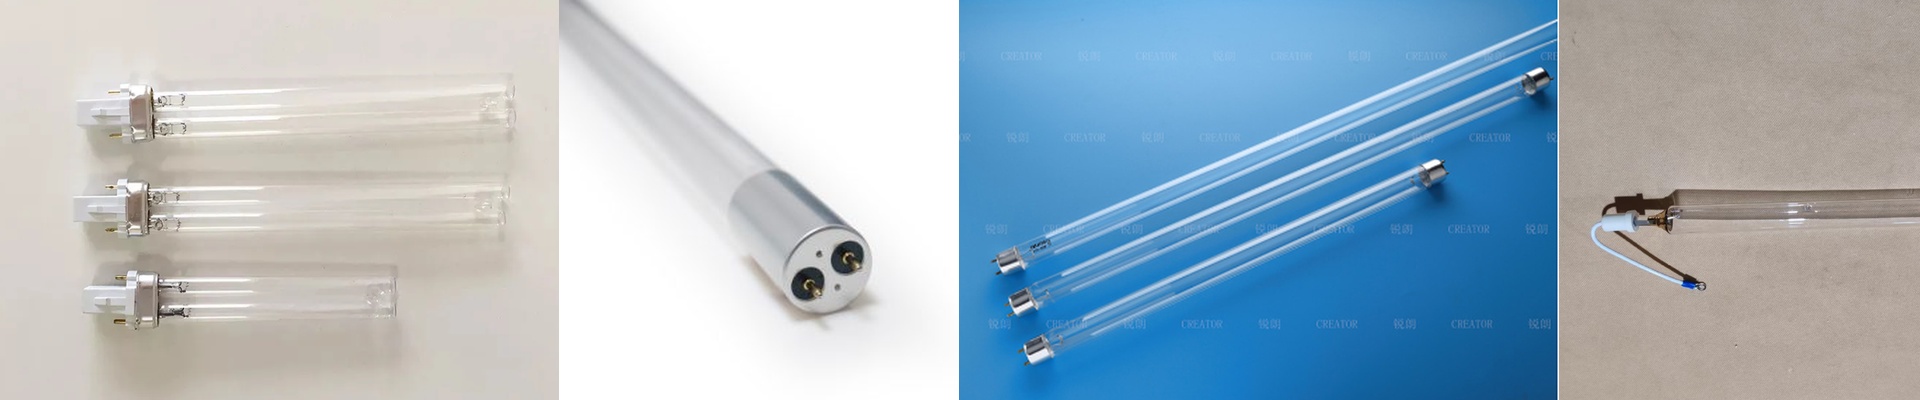
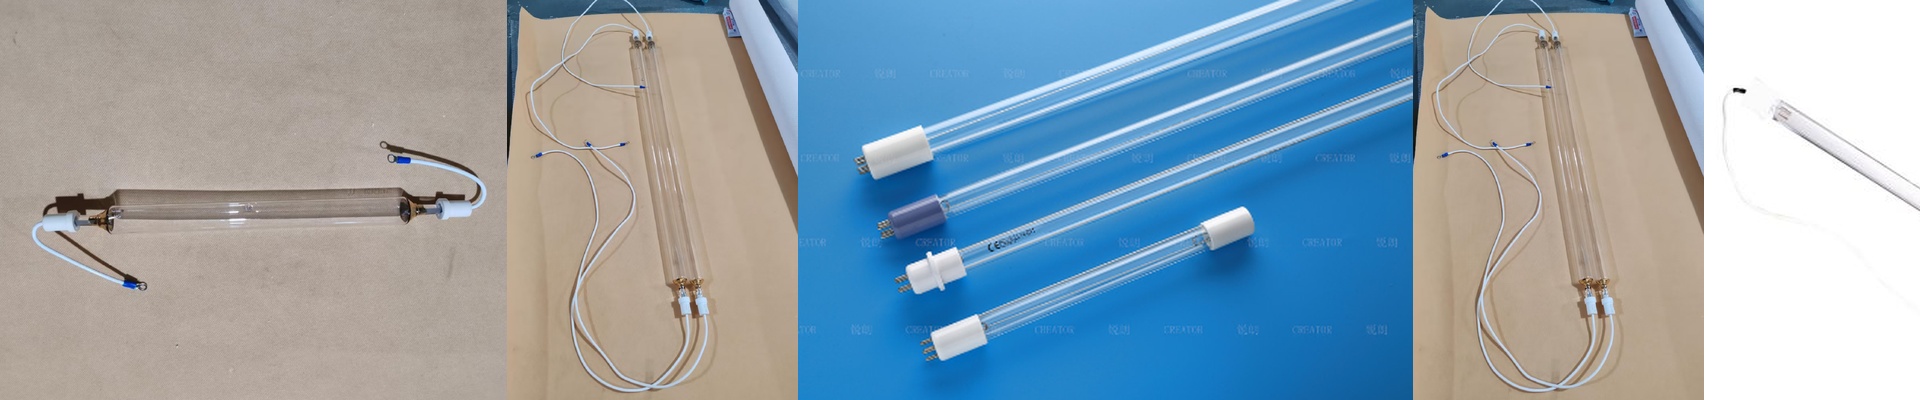
Getting Your UV Curing Right in Textile Automation
Think of your UV curing lamps as more than just lights. They’re actually the finish line. This is where the magic happens—turning liquid ink into a tough, solid film in a fraction of a second. If this part fails, everything before it was a waste of time. The struggle with power and speed Here’s the thing about wide fabrics: getting an even cure across the whole web is tricky. You need a steady stream of energy. If your power dips or you crank up the belt speed too high, you’ll hit “under-cure.” That’s a nightmare. You get ink that smudges or, even worse, washes right out of the fabric. We spend a lot of time balancing voltage and wattage so the lamp hits that sweet spot—strong enough to lock the ink in, but not so hot that it fries the fabric. Why the glass actually matters We use high-purity fused quartz for the lamp envelopes. Why? Because regular glass is basically a wall to the short-wave UV rays that the ink needs to harden. Quartz lets that energy slide right through. But there’s a catch. You have to keep these tubes spotless. Seriously. Even a tiny bit of dust or a stray splatter of ink creates a “cold spot.” You won’t notice it until you see a patch of wet ink on your finished product. Dealing with the heat UV lamps get hot. Really hot. When you’re plugging these into an automated line, you can’t just ignore the temperature. If you aren’t careful, the heat can shrink synthetic fibers or warp the whole piece of fabric. To stop that from happening, we usually bring in forced-air cooling or chilled rollers to suck the heat away from the material. If your cooling system can’t keep up with the lamp’s power, you’re going to end up scorching your fabric. One last tip: if you’re swapping out a lamp, make sure the length and the pins are an exact match. If they aren’t, you risk electrical arcing at the terminals. Plus, a perfect fit means the beam hits the ink exactly where it should.