Getting Your Mercury UV Bulbs Right at Scale
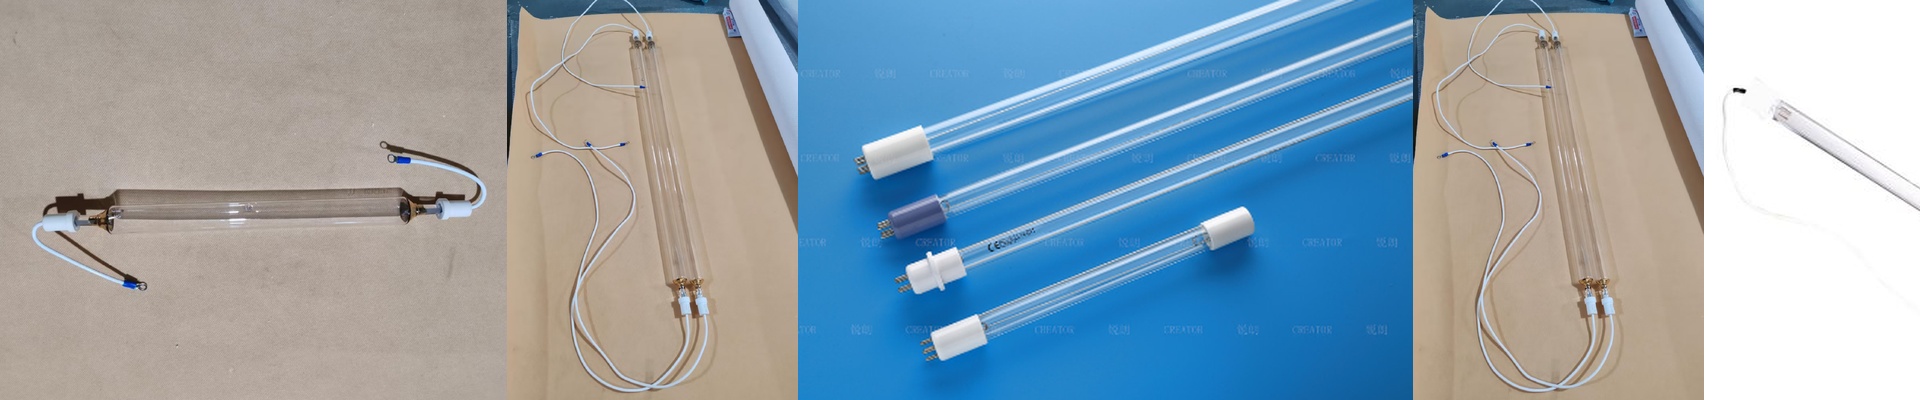
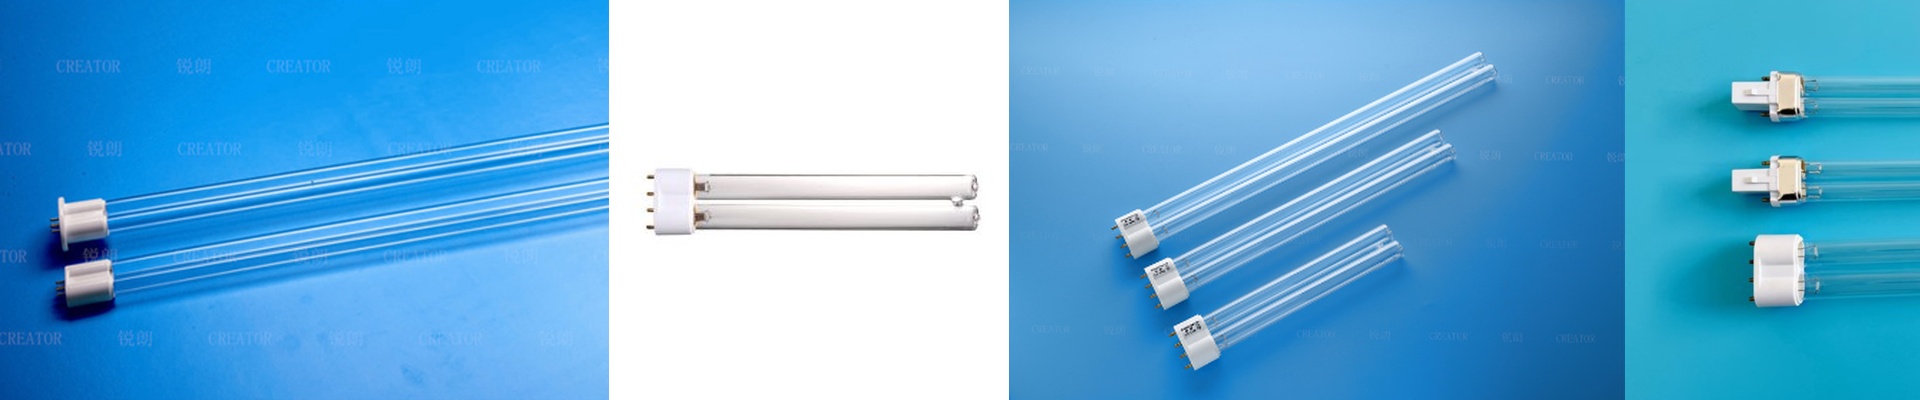
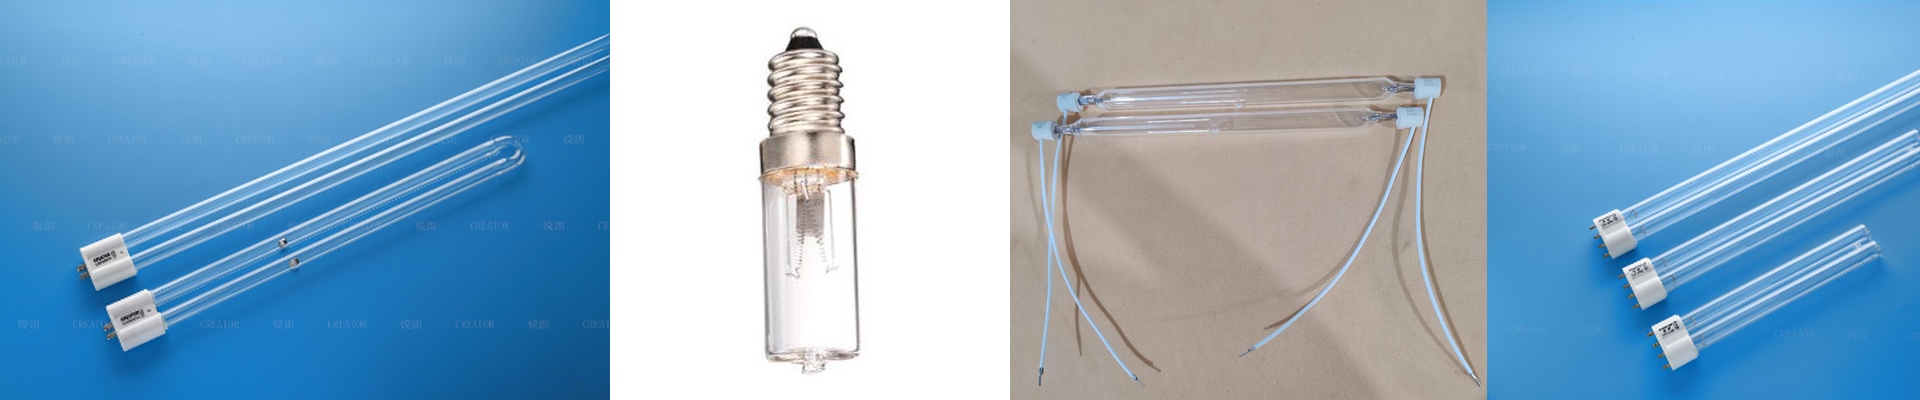
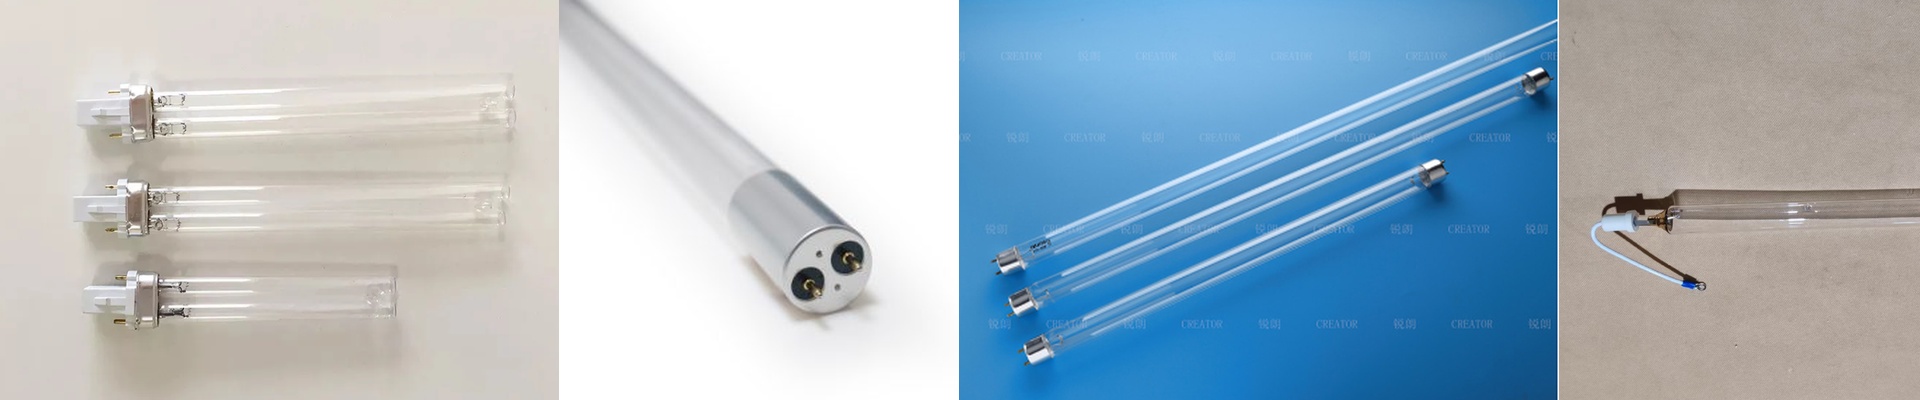
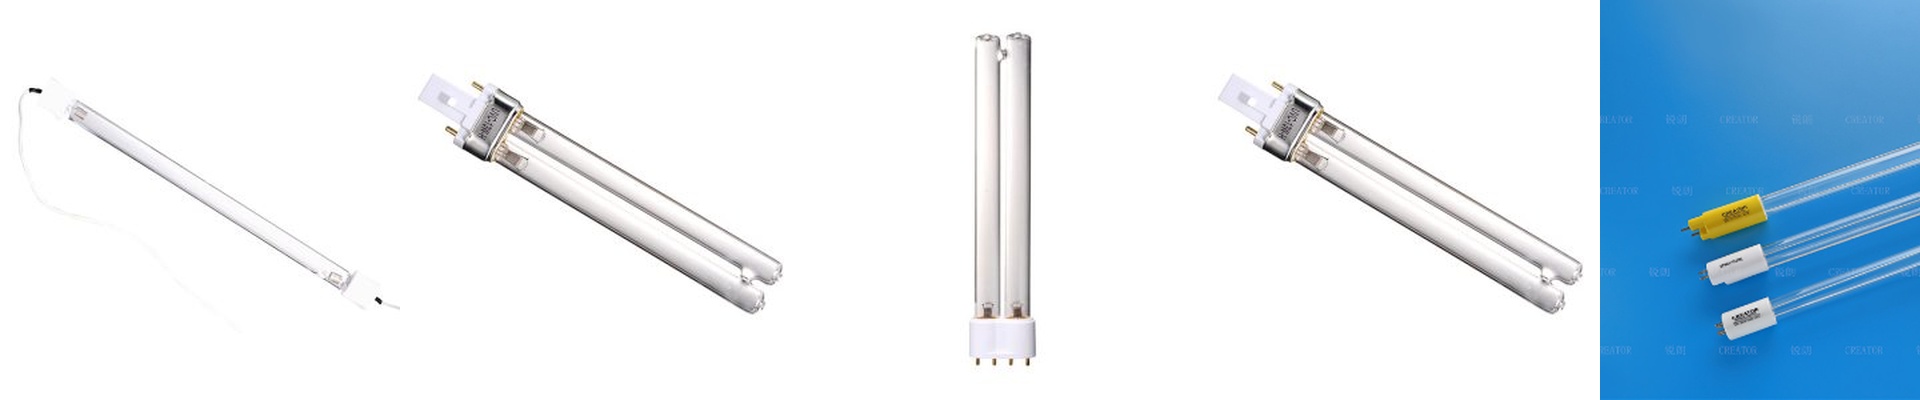
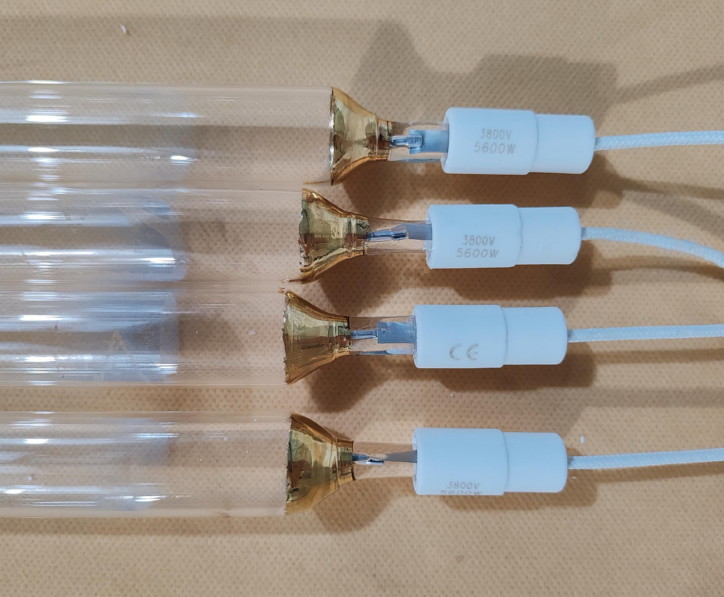
Think of a mercury UV bulb as more than just a light. It’s really the engine driving your entire production line. We build these things to turn electricity into a very specific kind of energy—mostly UVC and UVB—that tells your inks, coatings, and glues to harden instantly. It’s all about the power. The magic happens in the plasma discharge at the core. When we’re picking out your tubes, the wattage is what dictates how much energy actually hits your product. More wattage usually means you can crank up the line speed. But here’s the trick: you’ve got to match the bulb to the photoinitiator in your resin. If the light peak and the resin’s absorption aren’t on the same page, you’re going to end up with a nightmare—a surface that feels tacky to the touch while the inside stays liquid. Dealing with the heat We use high-purity quartz glass because it lets the UV light through without blocking it. Plus, it can take the brutal heat of the arc without just snapping. Still, these bulbs runhot. Really hot. If your cooling fans give out or your reflectors get caked in dust, that quartz glass starts to degrade. That’s how you get premature burnouts. Just make sure your housing is actually built to handle the heat of the wattage you’re plugging in. Smart setups and the “real world” The days of “set it and forget it” are pretty much over. We’re now plugging these bulbs into closed-loop systems. By linking the age of the lamp to your conveyor speed, you can tweak the power on the fly. It saves you from over-curing, which is usually how you end up with warped materials or that ugly yellow tint. Swapping a bulb is a quick, drop-in job. But do yourself a favor: calibrate your radiometer every single time you do it. No two bulbs are exactly the same. If you want your cure rate to stay consistent from the morning shift to the night shift, you’ve got to measure it.