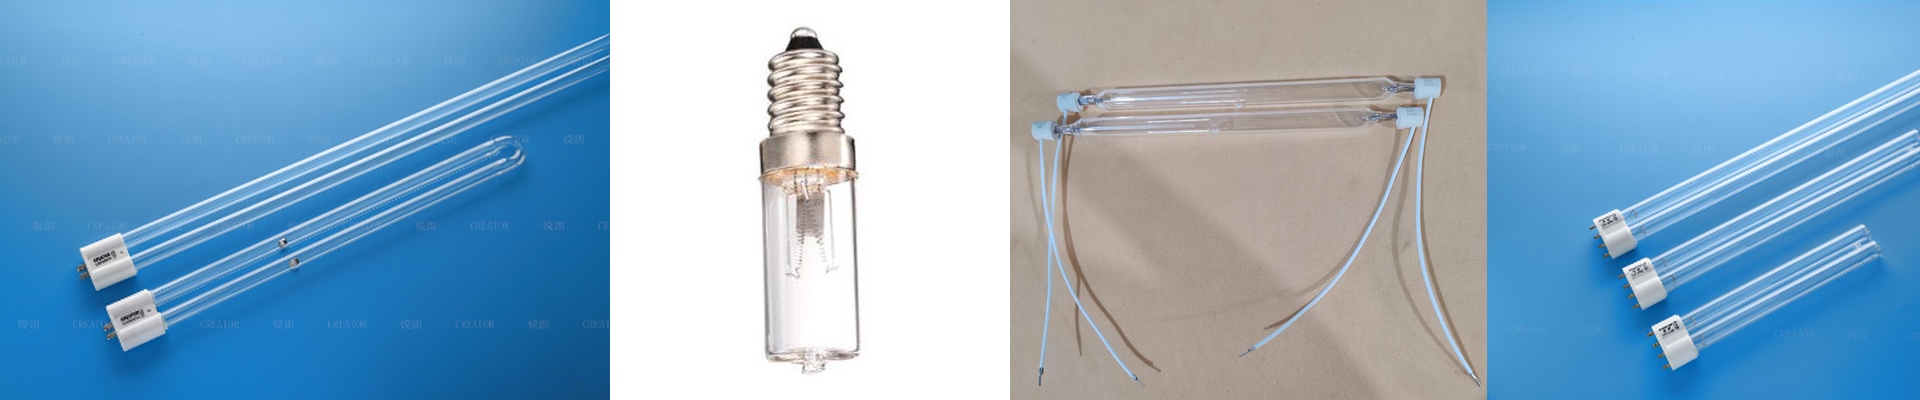
Getting the Wavelength Right: The Secret Sauce of UV Lamps
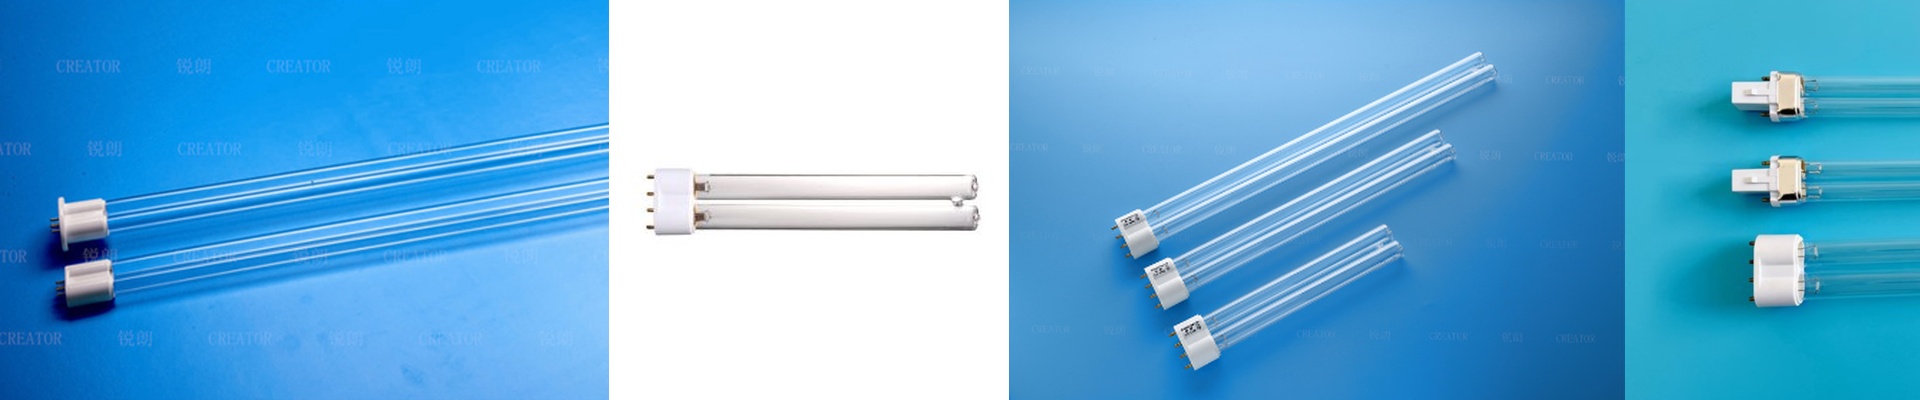
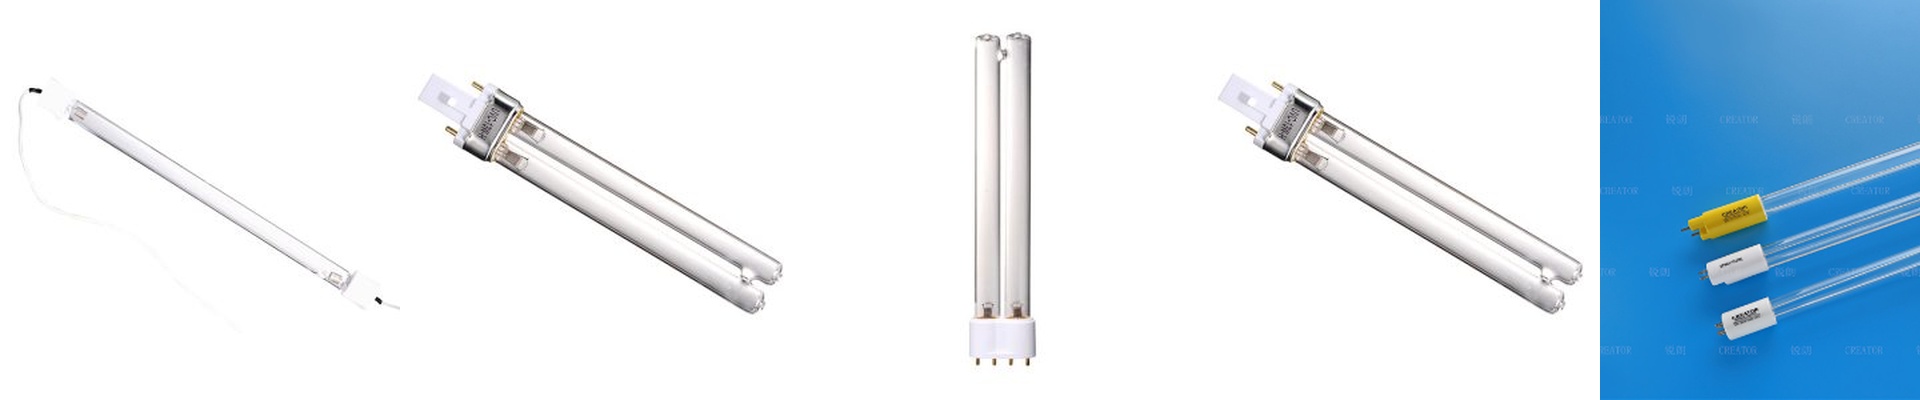
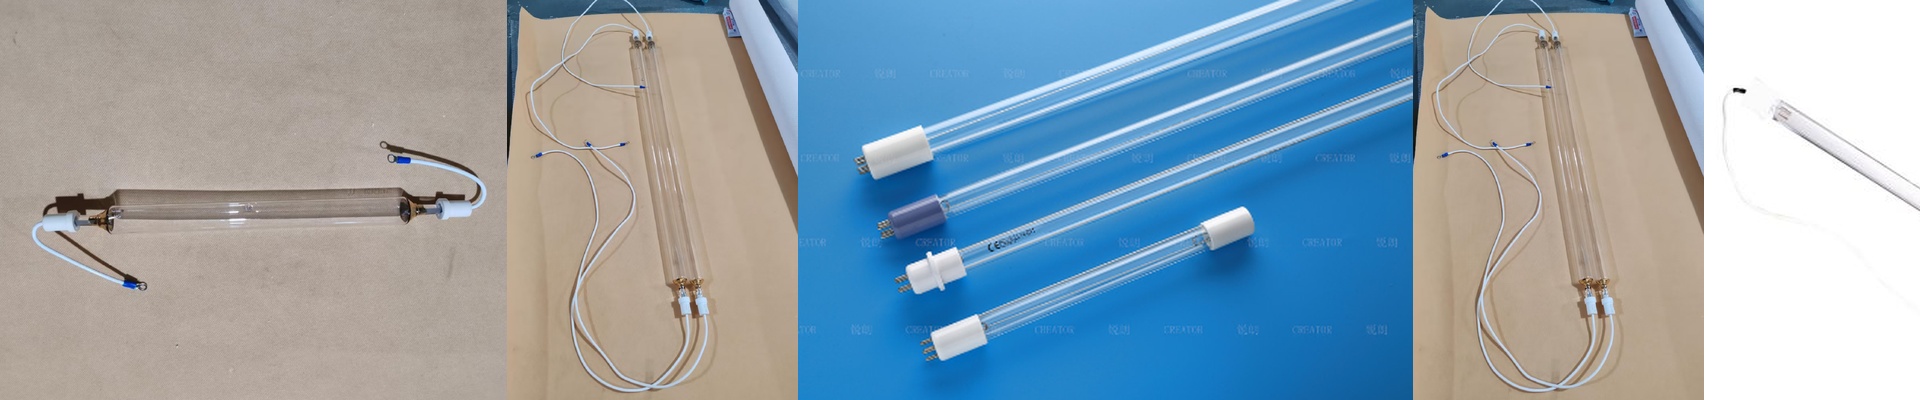
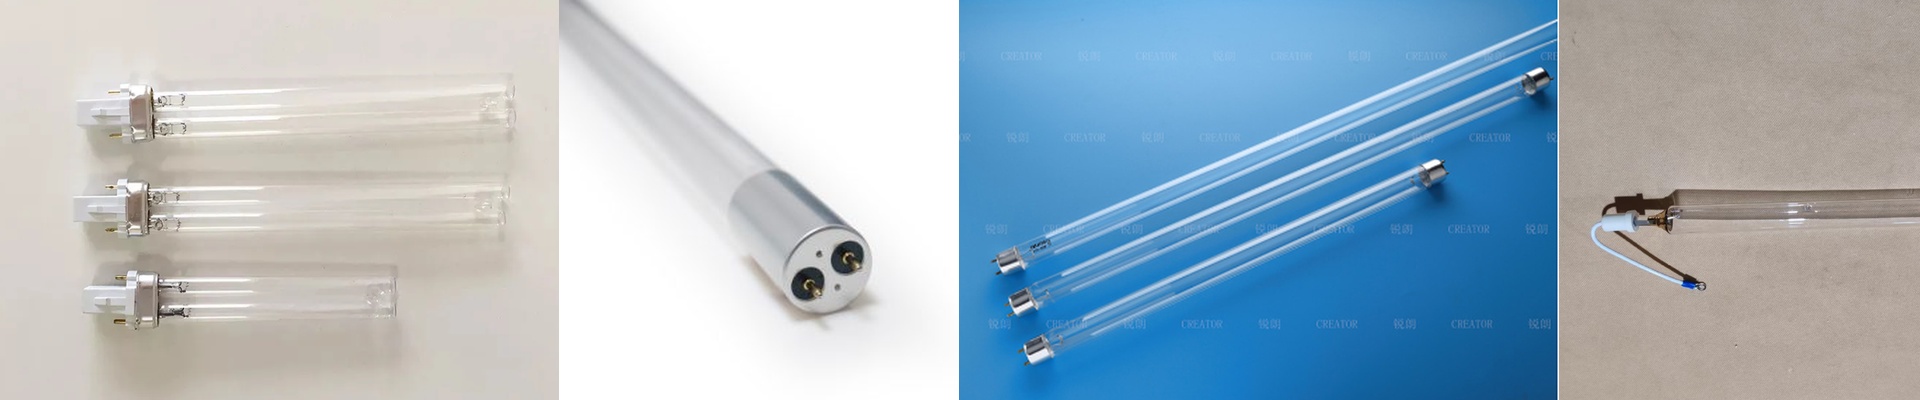
We don’t just put together UV lamps. We’re basically managing photons. In the lab, our whole world revolves around hitting one specific peak—usually 253.7nm if you’re trying to kill germs. Here’s the thing: if that wavelength drifts by even a couple of nanometers, you’re in trouble. The energy just doesn’t line up with the DNA of the microorganisms anymore. Suddenly, your sterilization power vanishes. The tricky part of the physics To keep things pure, we obsess over two things: mercury vapor pressure and the quality of the quartz. We use high-transmittance synthetic quartz because we can’t have the glass itself soaking up the UV-C light. We also calibrate the gas mixture inside to stop “spectral broadening.” When the pressure is off, you start getting these random peaks in the UV-B or UV-A range. Not only does that waste power, but it can actually eat away at your equipment’s housing. The trade-offs you should know about Getting that tight tolerance isn’t free. It takes a bit of patience. To get the mercury vapor to the exact pressure needed for a stable peak, these lamps need a proper warm-up cycle. If you’re flipping the power switch on and off constantly, you’ll notice the output dip and the spectral peak shift. I’ve seen people try to cheat this with fast-start ballasts. Don’t do that. It usually just fries the electrodes way too early. A few tips for the install If you’re picking out a replacement, start by checking your current draw and where your reflector is focusing. A precise, narrow-band lamp is great, but it’s useless if your optics are off. We make these to be a simple drop-in replacement, but please—clean your reflectors. If there’s oxidation or dust buildup, it shifts the wavelength hitting the surface. It basically cancels out all the precision we worked so hard to build into the tube.